

Whether you live in a snowy region or just want to enhance the safety and aesthetics of your driveway, installing driveway markers can be a practical and straightforward solution. To ensure a smooth and efficient installation process, it’s essential to follow best practices and utilize the right tools. We’ll walk you through some of the best practices for using a driveway marker install tool.
Best Practices:
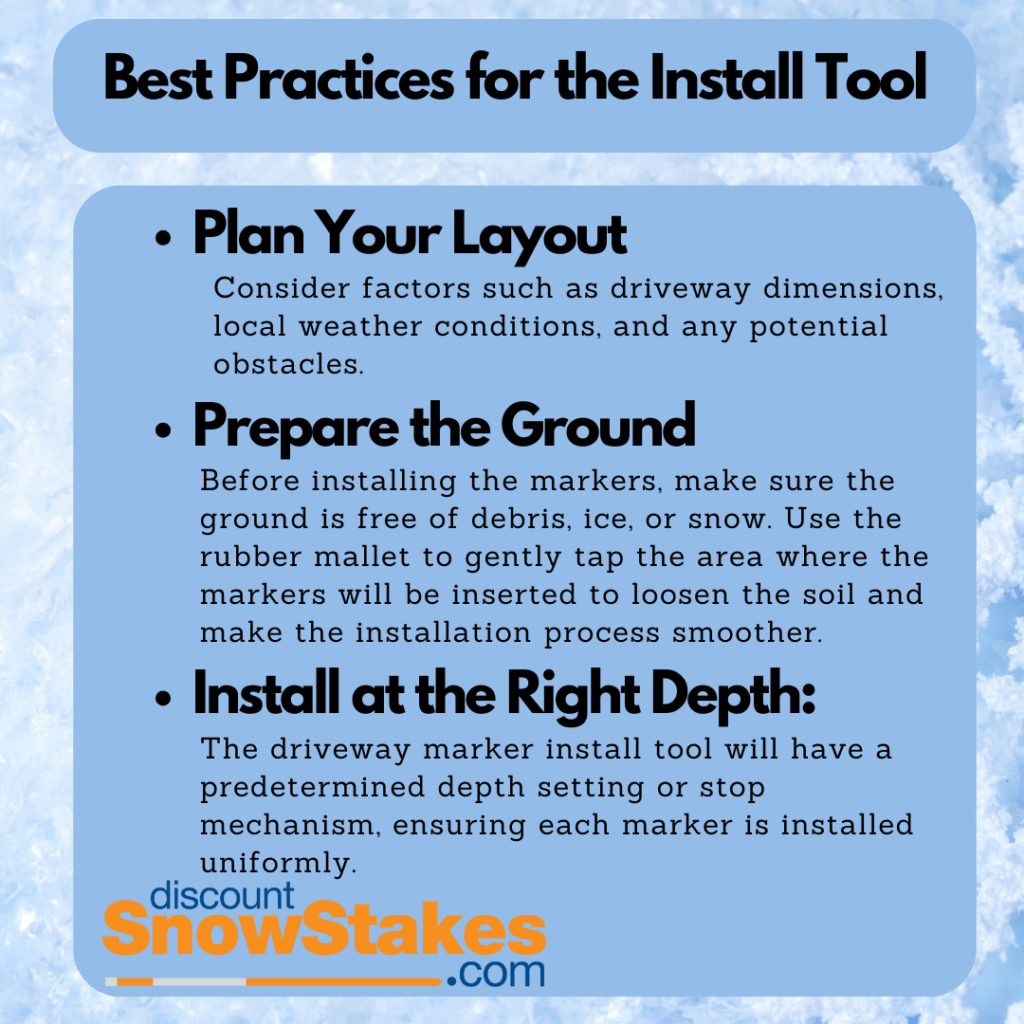
- Plan Your Layout: Before diving into the installation process, take the time to plan the layout of your driveway markers. Consider factors such as driveway dimensions, local weather conditions, and any potential obstacles. A well-thought-out plan will ensure even spacing and optimal visibility.
- Choose the Right Markers: Select driveway markers that are suitable for your specific needs. Reflective markers are excellent for night visibility, while taller, brightly colored markers are more noticeable during the day. Ensure the markers are durable and able to withstand the elements for long-term use.
- Gather Necessary Tools: A successful driveway marker installation starts with the right tools. The essential tools for this job include a rubber mallet, a measuring tape, and, most importantly, a specialized driveway marker install tool. This tool streamlines the installation process and ensures uniform depth for each marker.
- Use a Driveway Marker Install Tool: Invest in a high-quality driveway marker install tool to make the job easier and more precise. These tools typically feature a sturdy handle and a built-in stop mechanism that ensures consistent marker depth. The use of such a tool reduces the risk of damaging markers or the surrounding surface during installation.
- Prepare the Ground: Before installing the markers, make sure the ground is free of debris, ice, or snow. Use the rubber mallet to gently tap the area where the markers will be inserted to loosen the soil and make the installation process smoother.
- Install at the Right Depth: The correct depth for driveway markers is crucial for stability and visibility. The driveway marker install tool will have a predetermined depth setting or stop mechanism, ensuring each marker is installed uniformly. Follow the tool’s instructions to achieve the optimal depth for your markers.
- Securely Fasten Reflectors: If your markers include reflective elements, ensure they are securely fastened to maximize visibility. Check the reflectors regularly to ensure they remain clean and undamaged for continued effectiveness.
- Consider Seasonal Adjustments: In regions with changing seasons, be prepared to adjust the height of your driveway markers. Lower them during warmer months to avoid damage from lawnmowers or vehicles and raise them during winter to maintain visibility through snow and ice.
Installing driveway markers is a practical and visually appealing way to enhance safety and guide both pedestrians and vehicles. By following these best practices and using a dedicated driveway marker install tool, you can ensure a smooth and efficient installation process, resulting in a well-maintained and highly visible driveway year-round. Those are some of best practices for using a driveway marker install tool.