Driveway markers play a crucial role in enhancing visibility and guiding us safely through various weather conditions. Proper installation is key to ensuring their durability and effectiveness. Here are some of the best practices for using a drill bit to install driveway markers.

- Selecting the Right Drill Bit: Choosing the appropriate drill bit is the foundation of a successful installation. Opt for a masonry or concrete drill bit, as these are designed to handle the tough surfaces often encountered in driveways.
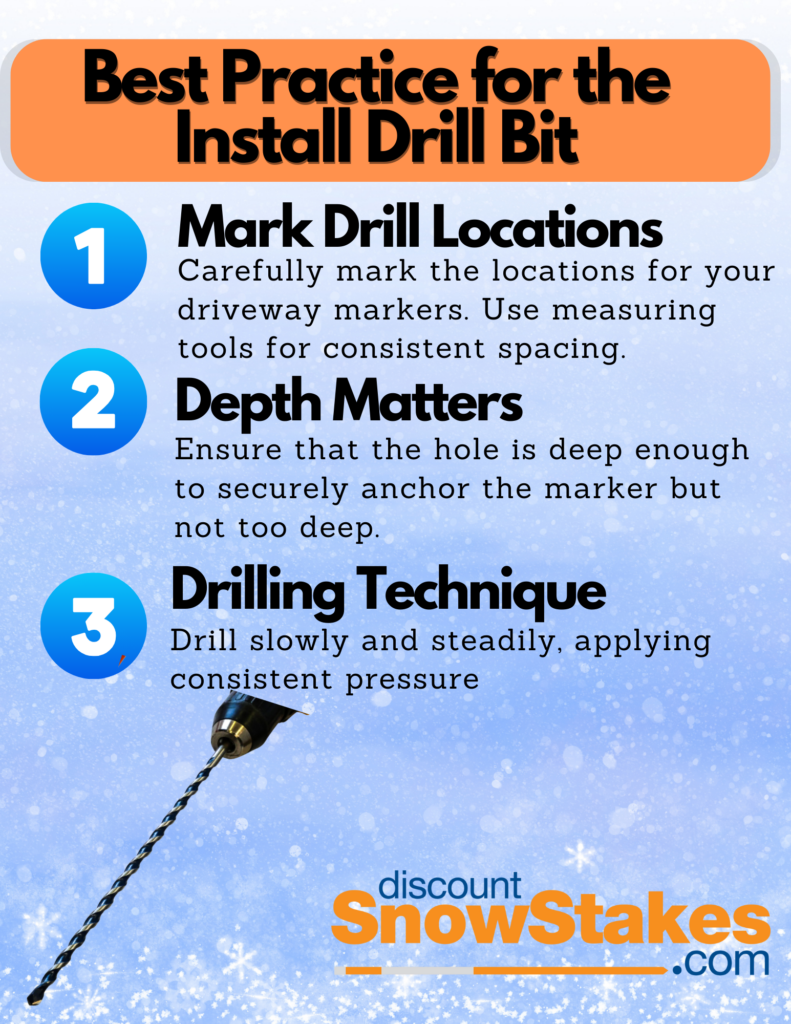
- Marking Drill Locations: Before diving into the drilling process, carefully mark the locations for your driveway markers. Use measuring tools to ensure accuracy and maintain a consistent spacing between each marker.
- Depth Matters: Pay attention to the depth at which you drill. Ensure that the hole is deep enough to securely anchor the marker but not too deep to compromise stability. Aim for a depth that accommodates the length of the marker’s anchor.
- Mind Your Angle: Maintain a perpendicular angle while drilling to ensure that the markers stand straight. Deviating from the correct angle can affect stability and compromise the overall appearance.
- Drilling Technique: Start drilling slowly and steadily to prevent the bit from slipping or causing damage. Apply consistent pressure, and periodically withdraw the bit to remove debris, preventing it from accumulating and hindering progress.
- Consider the Surface Material: Different driveways may have varying surface materials, such as asphalt or concrete. Adjust your drilling technique and speed accordingly to accommodate these differences and achieve optimal results.
- Safety First: Always prioritize safety. Wear appropriate protective gear, including safety glasses to shield your eyes from debris, and gloves to protect your hands.
- Proper Equipment Maintenance: Regularly check and maintain your drill bits. Dull or damaged bits can compromise the quality of the installation. Sharpen or replace them as needed to ensure efficient and precise drilling.
- Weather Considerations: Choose a day with favorable weather conditions for installation. Extreme temperatures or adverse weather can impact the drilling process and the overall effectiveness of the installation.
- Securing the Marker: Once the hole is drilled, insert the driveway marker anchor securely. Apply a sealant or epoxy to enhance the bond and protect against weather-induced wear and tear.
By following these best practices for using a drill bit to install driveway markers, you can master the art of installing driveway markers with drill bits. Remember that attention to detail, safety precautions, and proper equipment are key elements in achieving a durable and aesthetically pleasing result. Whether it’s guiding you through a winter snowstorm or a rainy night, your driveway markers will stand tall and serve their purpose effectively.

