

Winter can bring heavy snowfall, making it essential to have reliable methods for measuring snow accumulation. One effective tool for this purpose is a snow stake. Snow stakes help you keep track of snowfall, providing valuable data for weather forecasting, safety, and fun comparisons. Installing snow stakes is a straightforward DIY project. Here’s a comprehensive guide to help you set up your snow stakes effectively.
Step-by-Step Instructions for Installing Snow Stakes
Materials Needed:
- Snow stakes (purchased or homemade)
- Measuring tape
- Hammer or mallet
- Stakes or rebar (for anchoring)
- Spray paint or reflective tape (optional for visibility)
- Shovel (if installing in frozen ground)
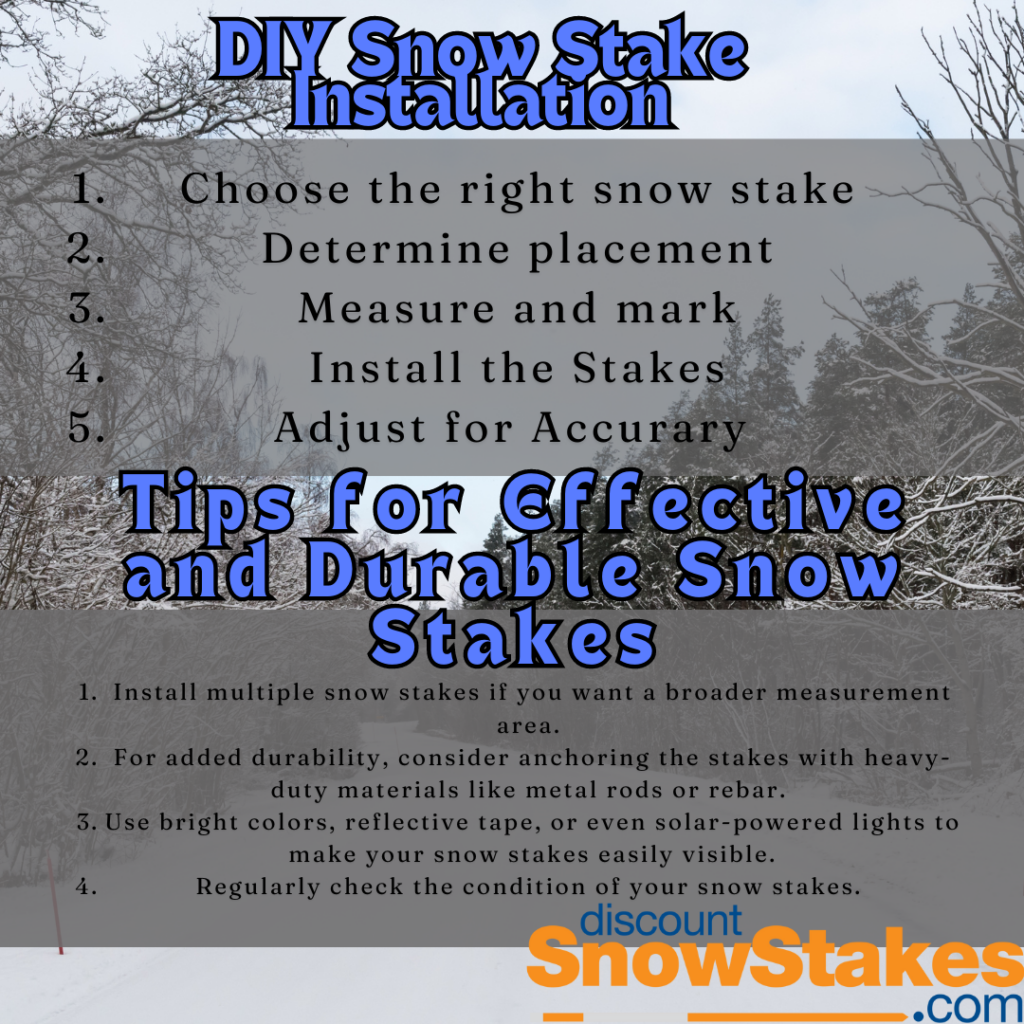
Step 1: Choose the Right Snow Stake
Snow stakes can be purchased or made from materials like PVC pipe, wooden dowels, or metal rods. Ensure the stakes are tall enough to measure the maximum expected snowfall in your area. Commercial snow stakes often have measurement markings, but you can also add your own using waterproof paint or markers.
Step 2: Determine Placement
Select strategic locations for your snow stakes:
- Visibility: Ensure the stakes are visible from a safe distance, especially if they’re near driveways or walkways.
- Open Area: Place the stakes in open areas away from buildings, trees, and other obstructions that can affect snowfall accumulation.
- Safety: Avoid placing stakes where they can be tripped over or hit by snow removal equipment.
Step 3: Measure and Mark
Use a measuring tape to mark the desired height on the snow stake. If your stake isn’t pre-marked, use waterproof paint or markers to add measurement lines. Consider using bright colors or reflective tape to enhance visibility, especially during low light conditions.
Step 4: Install the Stakes
- Prepare the Ground: If the ground is frozen, use a shovel to dig a small hole or soften the soil. If using stakes or rebar for anchoring, pre-drive these into the ground to guide your snow stake installation.
- Position the Stake: Insert the snow stake into the prepared hole. If using stakes or rebar, slide the snow stake over the top for added stability.
- Secure the Stake: Use a hammer or mallet to drive the snow stake firmly into the ground. Ensure it’s upright and stable. For extra stability in windy areas, consider burying a portion of the stake deeper or using additional support stakes.
- Check Stability: Wiggle the stake to ensure it’s secure. If it moves easily, reinforce the base with more soil or additional stakes.
Step 5: Adjust for Accuracy
Periodically check the position of your snow stakes, especially after heavy snowfall or strong winds. Ensure they remain upright and accurately measure snow depth. Adjust if necessary to maintain accuracy.
Tips for Effective and Durable Snow Stakes
- Spacing: Install multiple snow stakes if you want a broader measurement area. Space them evenly apart to get a more accurate average of snowfall across your property.
- Anchoring Methods: For added durability, consider anchoring the stakes with heavy-duty materials like metal rods or rebar. This helps prevent displacement from wind or snowplows.
- Visibility Enhancements: Use bright colors, reflective tape, or even solar-powered lights to make your snow stakes easily visible, reducing the risk of accidents and ensuring easy reading.
- Maintenance: Regularly check the condition of your snow stakes. Clean off any snow or ice that may obscure measurement markings and replace any damaged stakes as needed.
Installing snow stakes is a simple and effective way to keep track of snowfall, ensuring you stay informed and prepared throughout the winter season. By following these step-by-step instructions and tips, you can set up your snow stakes to maximize their effectiveness and durability. Enjoy the winter wonderland with the confidence that you’re accurately measuring its beauty!